UPDATE: With the latest tools, you no longer need to follow the arduous steps discussed in this post. All blog pacakge comes with a premium plugin that makes the installation quick and easy. You only need to create a MySQL database and then upload the blog installation files to your webhost.
No more messing with codes, SQL file, and myPHPadmin.
Watch Video
Step by Step Tutorial
1Go to phpMyAdmin under Databases on your cpanel.

2Click the phpMyAdmin link. A new window will open. On the left side locate the name of your MySQL database.
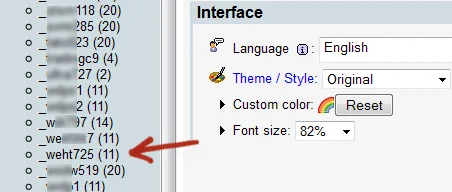
NOTE: If in case you don’t know the name of your MySQL database because you automatically installed WordPress using Fantastico or QuickInstall, you can locate your database name including username and password using your CPanel. Read the tutorial on “How To Locate Your Database Name and Username“.
3Click your database name. In this example, I click the _weht725 link. You should see some scary stuff like the one below:
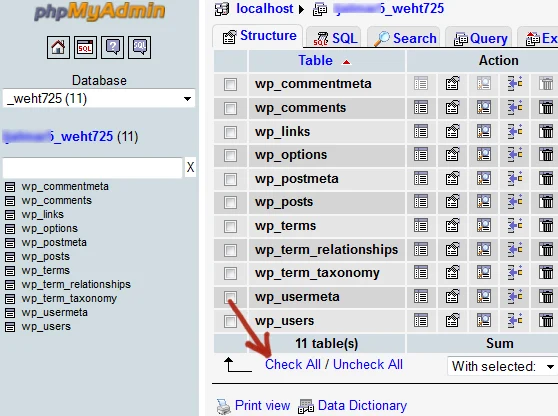
4Click the Check All button just below the list of tables (see illustration above). Click the With Selected: button then choose Drop (as shown below).
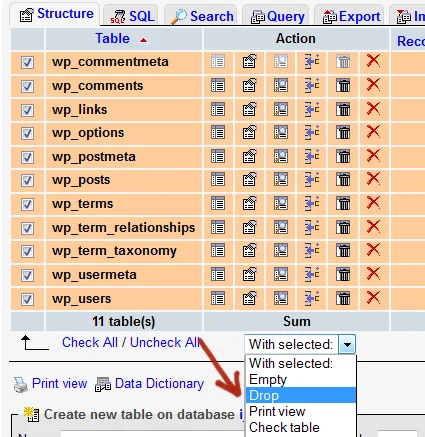
5Check YES button (found on the far right) if you are prompted with something like, “Do you really want to: |”.

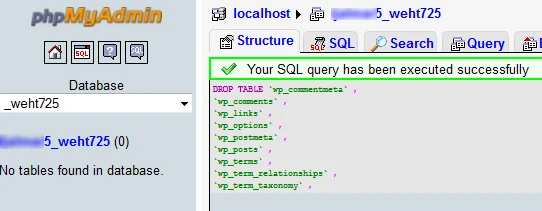
6Upon successful dropping you should see the message, “Your SQL query has been executed successfully“. Notice also that your database tables (left side) goes to zero value.
7Now click the SQL tab. You should now see a blank space. This is where you should paste the SQL file of your newly downloaded niche blog. The SQL file is actually the database files and this is where all your blog settings and articles are stored.
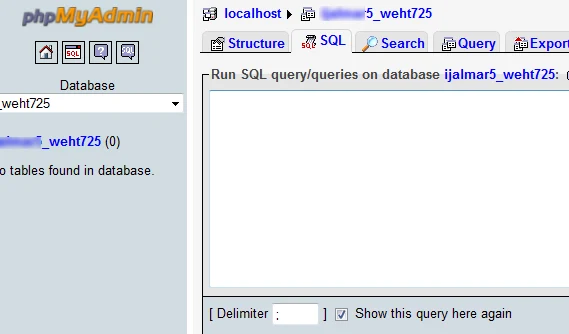
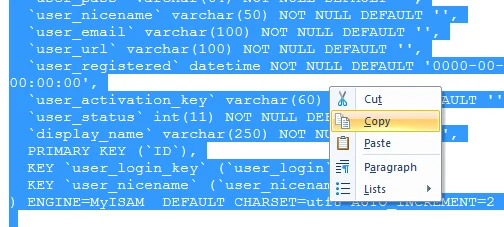
8Open the SQL file you edited in STEP 5. Select all (use Ctrl + A on your keyboard) then right click your mouse and press copy (or use CTRL + C).
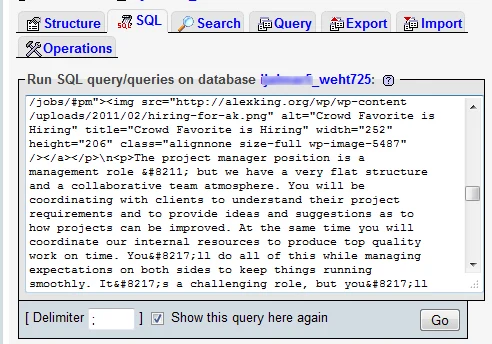
9Paste it on the blank SQL query then click the GO button.
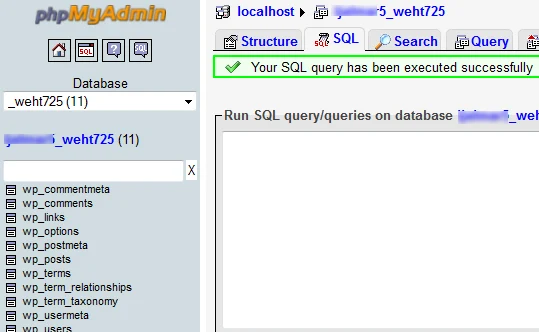
10Success! Welcome to the GEEK world!
11If you’ve been following the step by step installation of your premade blog packages, you can now view your newly installed niche blog by typing your url on your browser.


