When you install premadeniches blogs, the backup buddy script will attempt to delete unnecessary files after a successful install. You are always prompted to perform this action on the very last step which is File Cleanup.
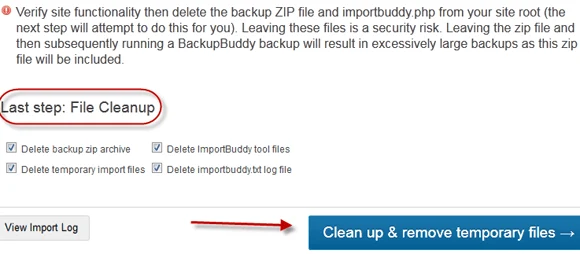
Now, if for some reason you missed performing the “File Cleanup” step, you need to manually delete the backup ZIP file and importbuddy.php from your site root.
Leaving these files is a security risk. It will also result in excessively large backups when you make backups in the future.
Here’s how to manually clean your WordPress install:
1 Login to your webhost’s cPanel.
2 Click on “File Manager“.

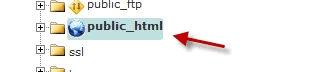
3 If you have several domains installed, click public_html on the right panel.
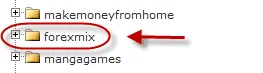
4 Click the domain folder where you installed the blog package.
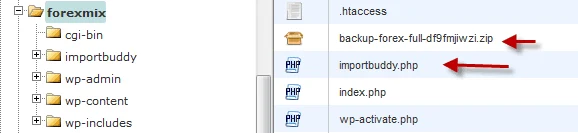
5 Now, on your right panel you should see existing files under that domain. These files include WordPress scripts, backup ZIP file, and importbuddy.php (if not deleted).
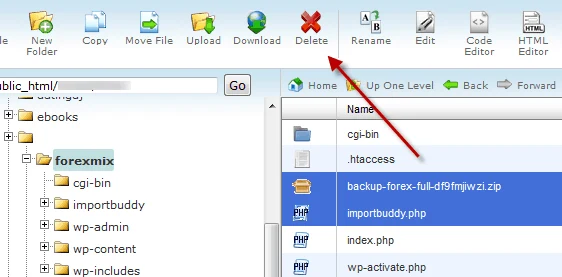
6 Highlight and delete those files.
That’s it!
7 You may also delete the importbuddy files under the “uploads” folder if you want.

To go to that folder, click wp-content then uploads on the left panel. See illustration above.
NOTE: Keep in mind that even when you successfully perform the automatic File Cleanup, Backupbuddy may still not be able to delete some files due to permission errors. See the example below.
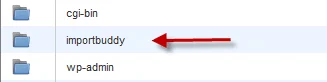
In this case, the script automatically created an “importbuddy” folder which was not deleted during the automatic file clean-up. Go ahead and delete that folder.