Changing the homepage slider images is very simple. Just edit that particular featured post then replace its featured image. That’s it.
If you are new to WordPress and are not familiar with the featured image feature, here’s a step-by-step guide on how to remove or change the homepage slider images.
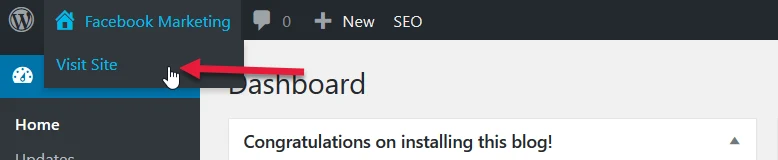
1 Login to WordPress.
2 While logged in, go to your blog’s homepage.
3 On the homepage, click the link of the slider image you want to change. It will redirect you to the posts page.

4 On the post’s page, click either of the “Edit Post” links. It will redirect you to the Edit Post area on your WordPress dashboard.

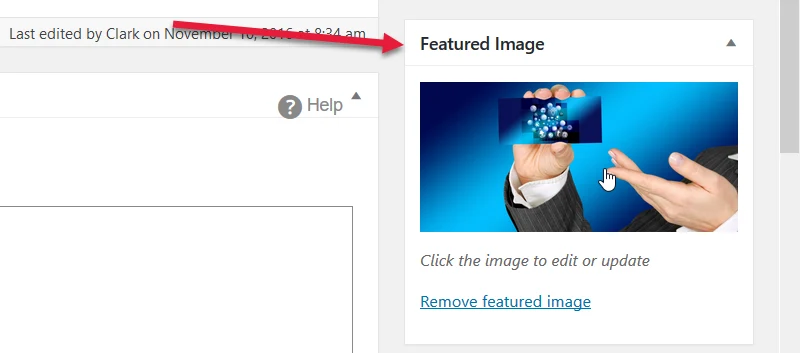
5 Now, find the “Featured Image” box. It is located below the right sidebar, usually, you need to scroll down.
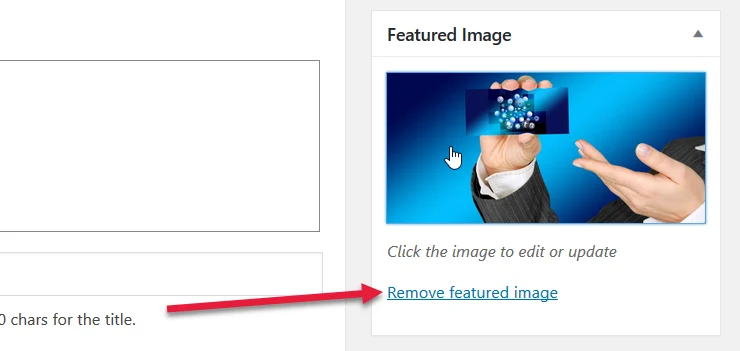
6 Click the “Remove featured image” link. The image will be removed.
7 To replace the removed image, click the “Set featured image” link. This will bring up the Featured Image popup box.

8 On the Featured Image popup box, you may use an existing image from “Media Library” or upload a new slider.

9 To upload a new slider image, click the “Upload Files” tab.

10 Click the “Select Files” button to upload the new image slider from your computer. The recommended slider image size is 800pixels by 375pixels. You may use 800px by 400px.

11 When your new image file is uploaded, click the “Set featured image” button.

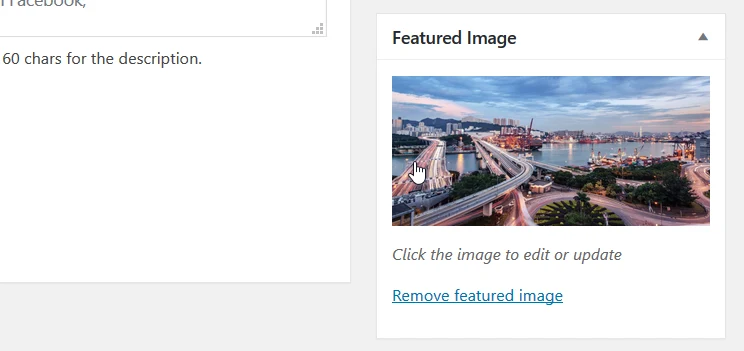
12 Your new featured image is set for this post.
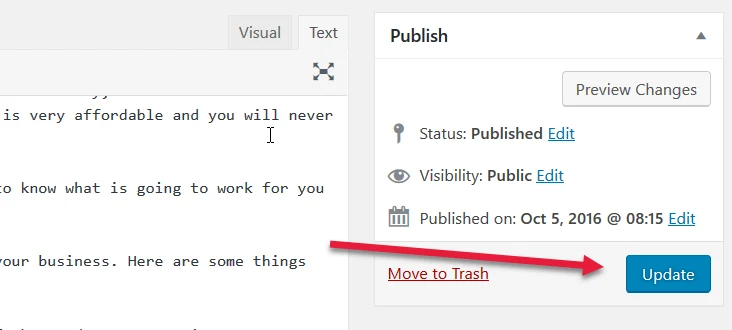
13 Don’t forget to click the “Update” button located at the right uppermost of the Edit Post page.
14 Check your homepage. The new image slider should be working.

15 That’s it. Repeat steps 1-14 if you want to change the other slider image.