In this tutorial, discover how easy it is to transfer or move a trusted SSL certificate from one server to another server using WHM. This is particularly important when you setting up a new server or moving to a new web hosting company.
Take note that this simple tutorial is only for webmasters who manage their websites using WHM and cPanel.
If you don’t have access to a WHM dashboard, click here for the step-by-step tutorial on how to move your SLL certificate using cPanel.
How to Transfer SLL Certificate Using WHM
It’s best to manage your SLL certificates using your WHM especially if you are on a VPS or a dedicated server.
So without further ado, let’s start. Keep in mind that you can click small or blurred images to enlarge them.
1 Login to your old WHM account.
2 Find the “SSL Storage Manager” link then click it.
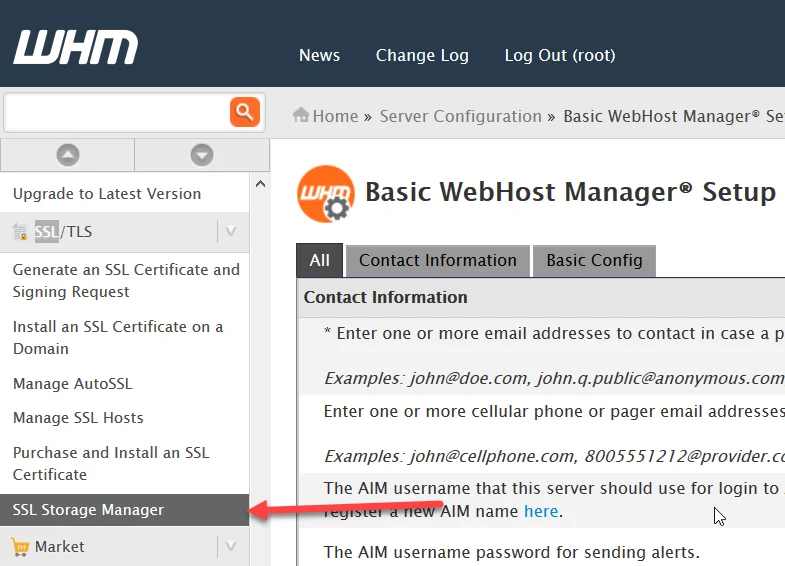
3 On the “SSL Storage Manager” page, you will see a table list of SSL keys, certificates, and CSRs.
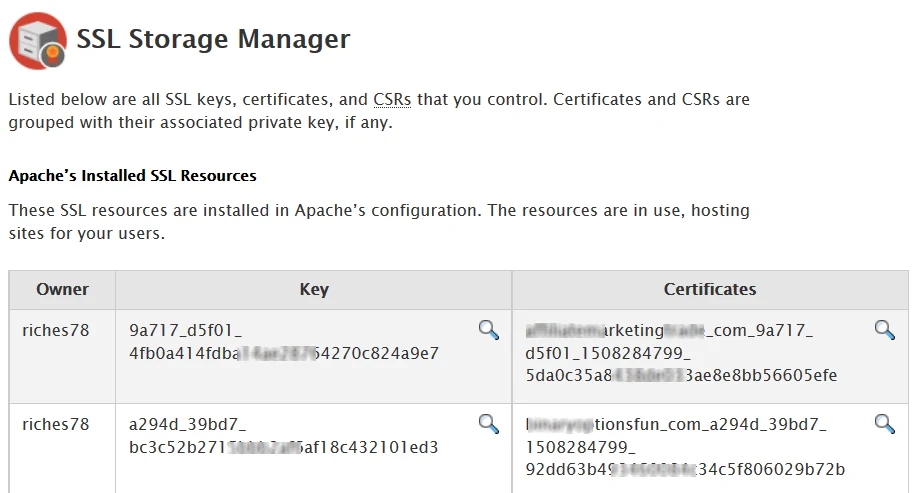
You only need the “Key” and “Certificate” here.
4 If you have several domains, find the one with the SSL certificate that you want to transfer. For this tutorial, the domain I want to transfer is premadegraphics.com
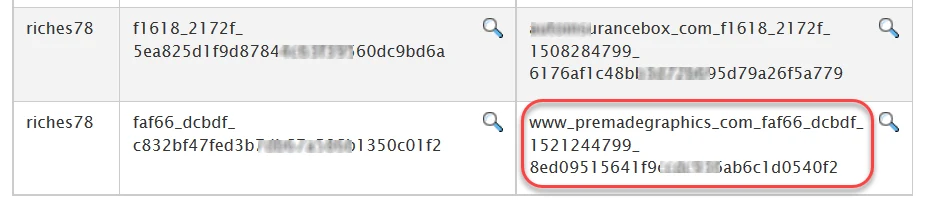
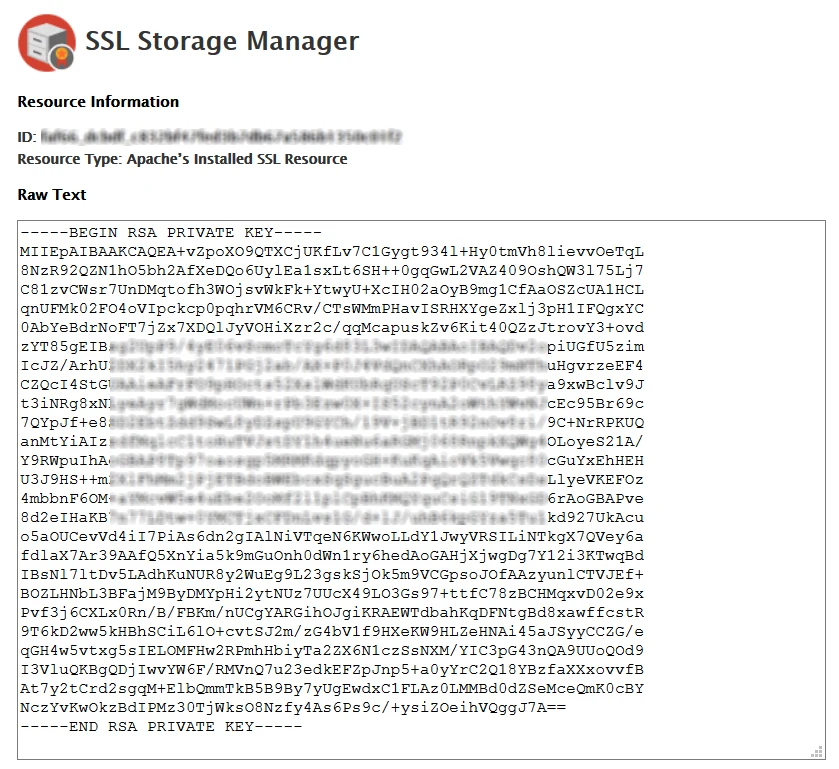
5 Get the “Private Key” by clicking the magnifying glass icon next to it.

6 This is your private key. Copy it into your notepad.
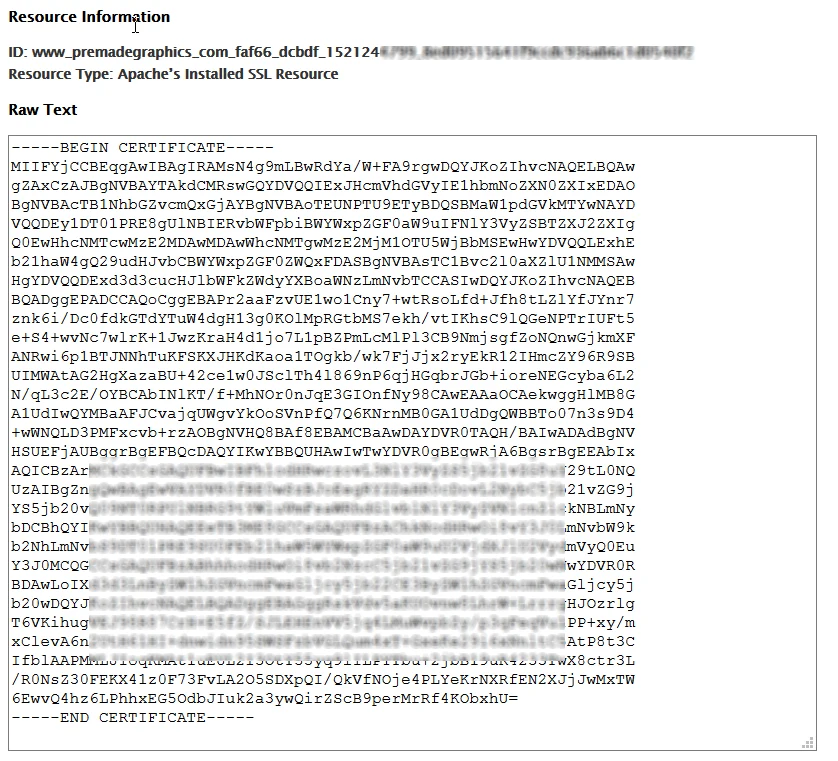
7 Get the “Certificate” by clicking the magnifying glass icon next to it under the certificates column.

8 This is your certificate key. Copy it into your notepad.
9 Now, login to your new or other servers via WHM.
10 Find the “Install an SSL Certificate on a Domain” menu.
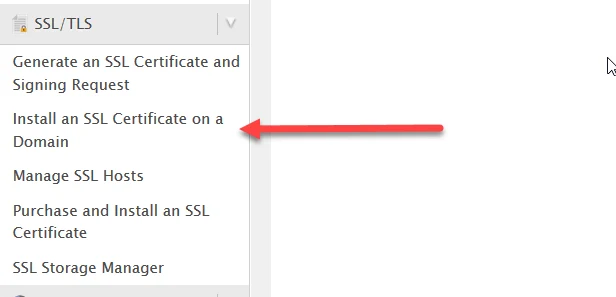
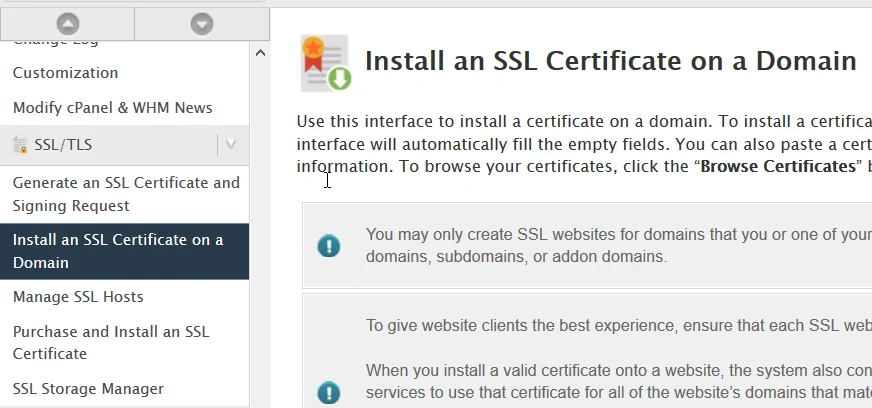
11 Click Install an SSL Certificate on a Domain. You will be directed to a page like this:
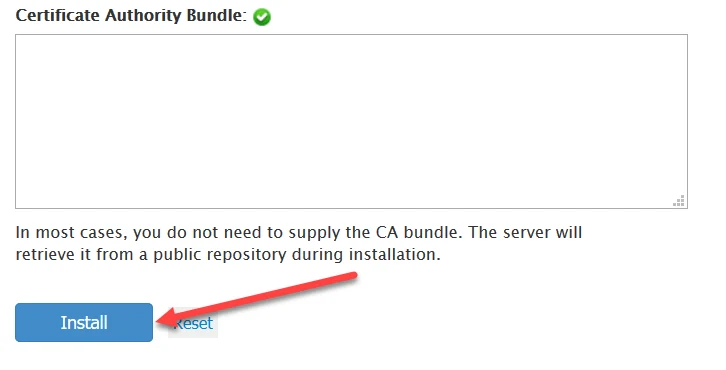
12 Enter your domain then just copy the “Key” content into the “Private Key” field and “Certificate” into the Certificate field (click image for detailed view).
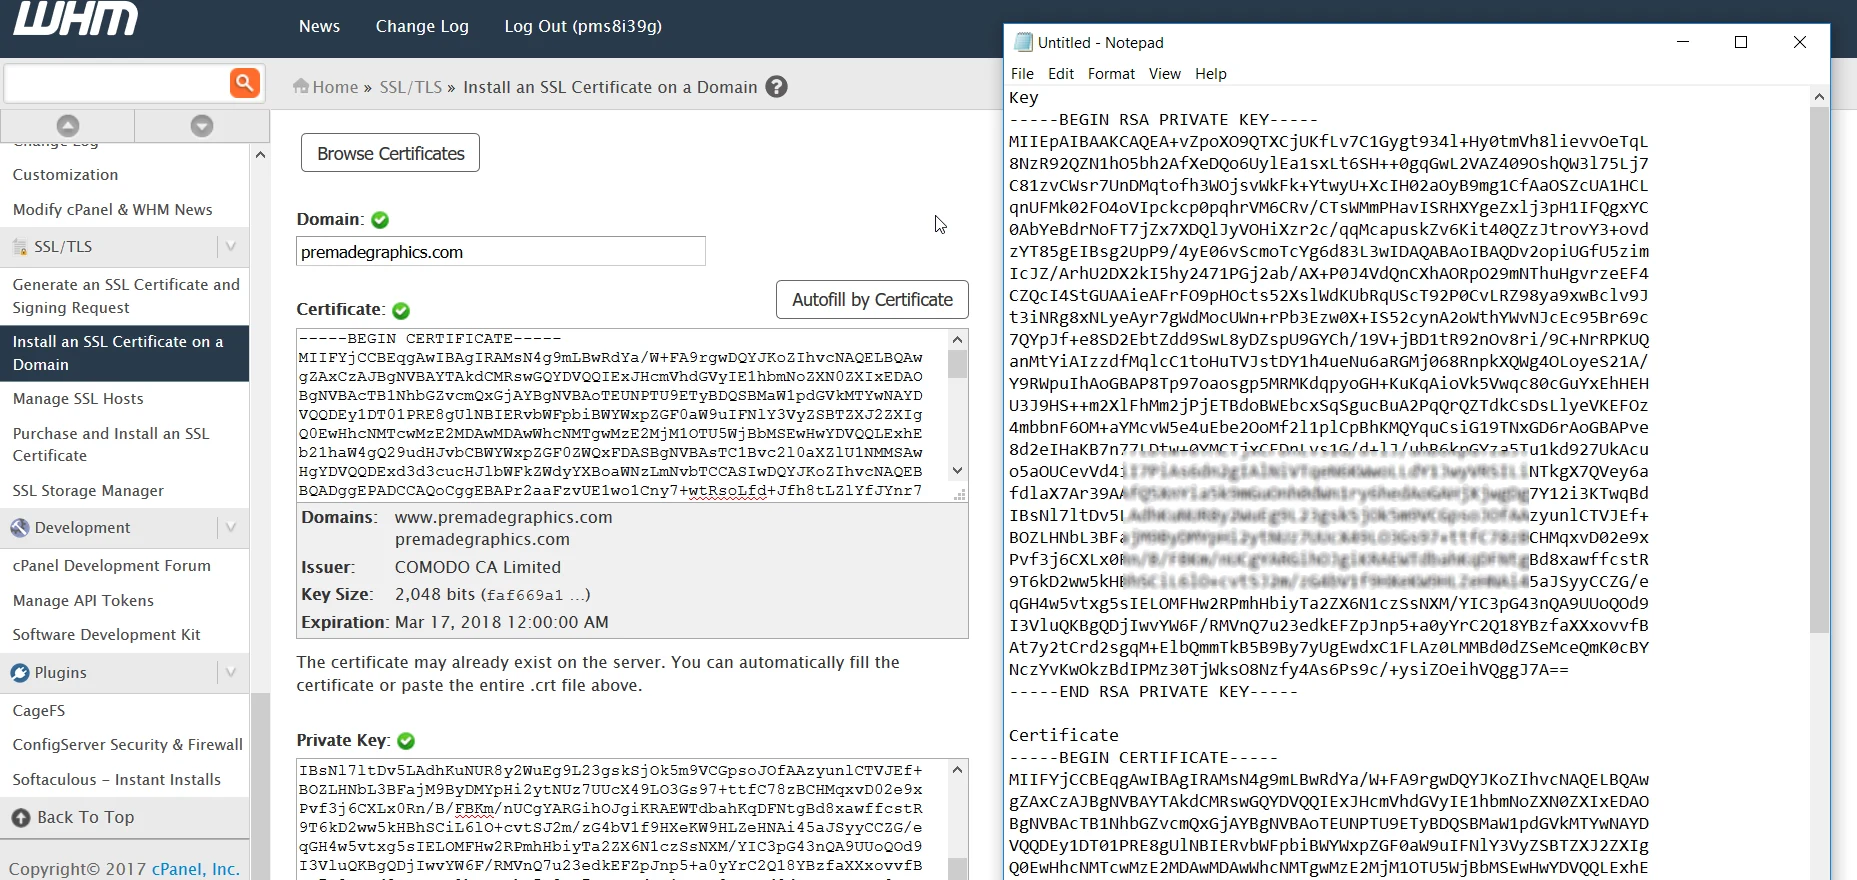
13 Finally, just click the “Install” button.
14 A pop-up box will notify you that your SSL certificate is successfully installed.
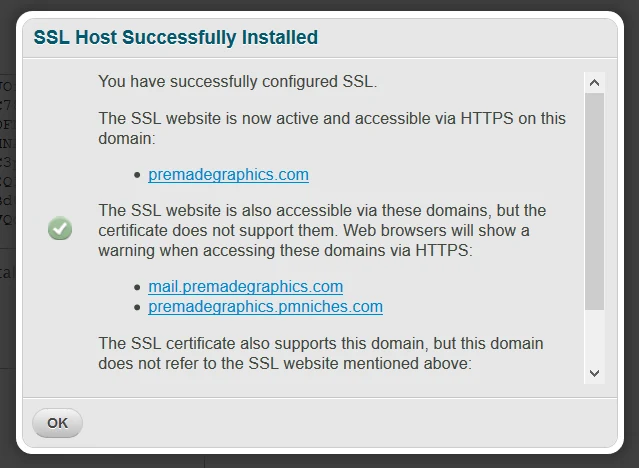
15 Clik OK button and that’s it. You’re done!
NOTE: If your new server automatically issued an automatic SSL for your domain and you don’t want to it, you can delete the auto issued SLL by going to “Manage SSL Hosts“

You can further clean up old SSL records by going to the “SSL Storage Manager” page. Find your domain under the table “User Account SSL Resources” then just click the delete icons on both “Key” and “Certificate” columns.