When using the vDeck control panel, make sure you have a separate directory when adding an add-on domain. Otherwise, your blog installation will never work.
Your main domain should only be the one using the “Home Directory” of your vDeck based hosting account. Otherwise, when you view your add-on domain on a browser, what you will be seeing in the pages of your main domain.
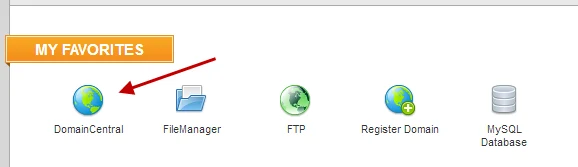
1 Click “Domain Central” under the My Favorites section.
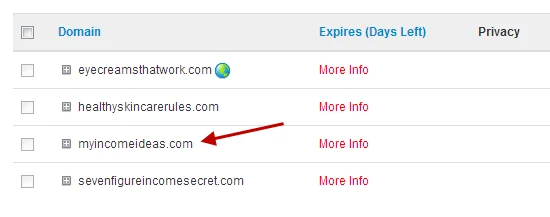
2 Click the name of the “domain” where you are going to install the blog.
3 Click “Pointers“.

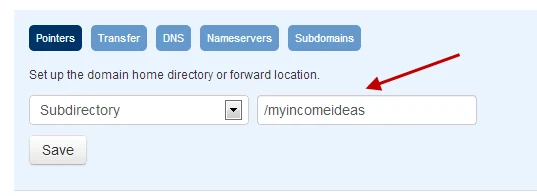
4 Choose “Subdirectory” on the drop-down menu.
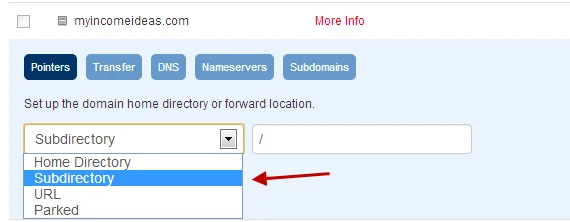
5 Type desired directory “directory name” or just type the domain (without the .com) then click the “Save” button.
That’s it!