October 2019 Update: Just install WordPress using GoDaddy’s one-click installer and then use the All-in-One WP Migration Plugin for installing the PLR blog. Read the quick guide here.
There’s no need to follow the below guide anymore.
Are you on a webhost using “Plesk” as a control panel? If you are one of those folks using Plesk-based web hosts and are confused about how to install your WordPress PLR blog, here’s a quick guide for you.
Plesk is one of the most common branded and user-friendly control panels you’ll come across when shopping for a new web host. It is an advanced hosting control panel that provides a wide array of tools you may need to manage any Linux or Windows hosting infrastructure efficiently.
Examples of web hosting companies offering Plesk web hosting are KnownHost, HostGator, A2 Hosting, 1and1, LiquidWeb, and Media Temple just to name a few.
The installation process is divided into 3 parts:
Part 1: Upload Installation Files
Part 2: Create MySQL Database
Part 3: Run the Installation Script
Part 1. Upload Installation Files
1 Unzip the PLR blog package you downloaded from PreMadeNiches.com. Do not upload the whole shebang. You need to unzip it first on your computer.
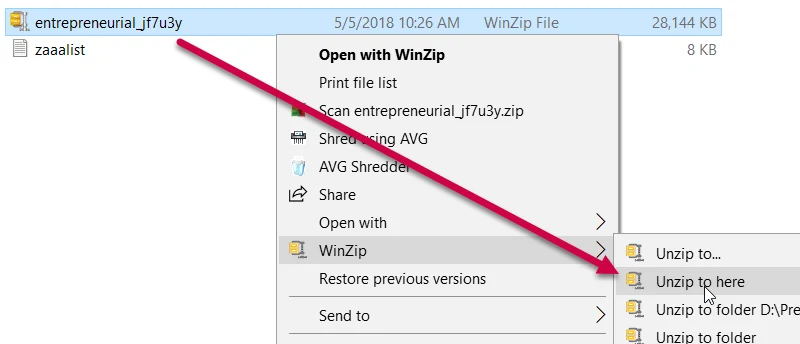
2 Locate and open the folder called “Files To Upload“.
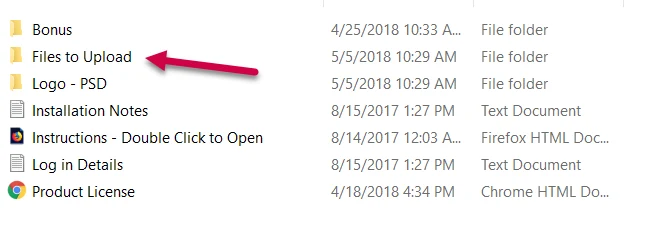
This is where you’ll find the actual “installation files” which are the index.php, importbuddy.php, and the “backup file“.

You’re going to upload all 3 files. DO NOT unzip the backup file.
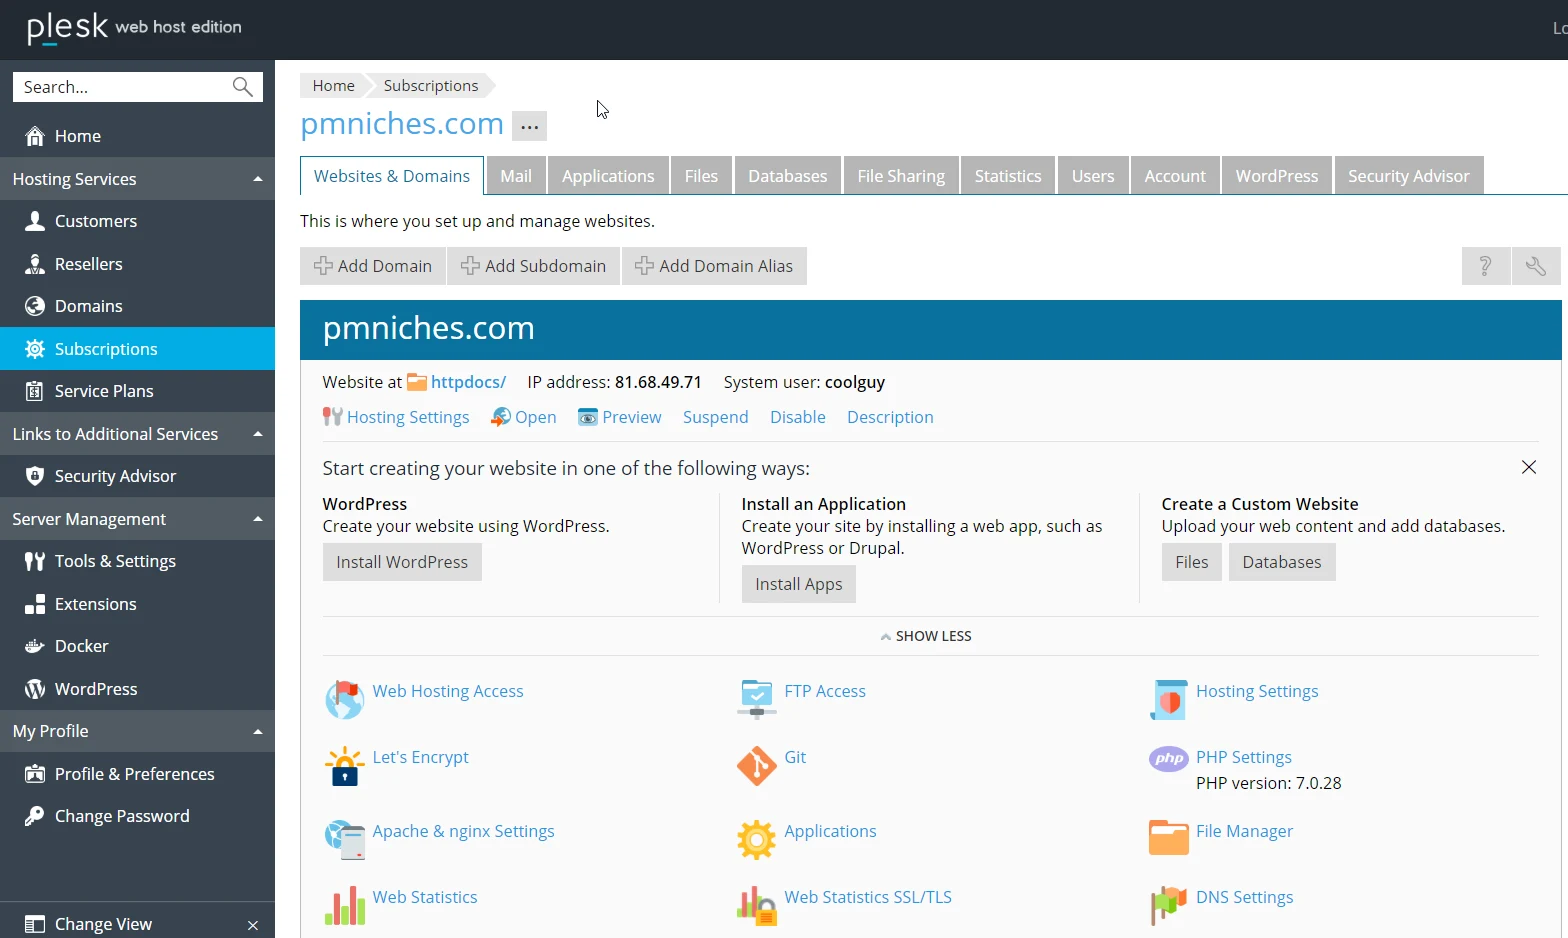
3 Login to your Plesk Control Panel. If you are familiar with WordPress you may notice that the Plesk dashboard has similar look.
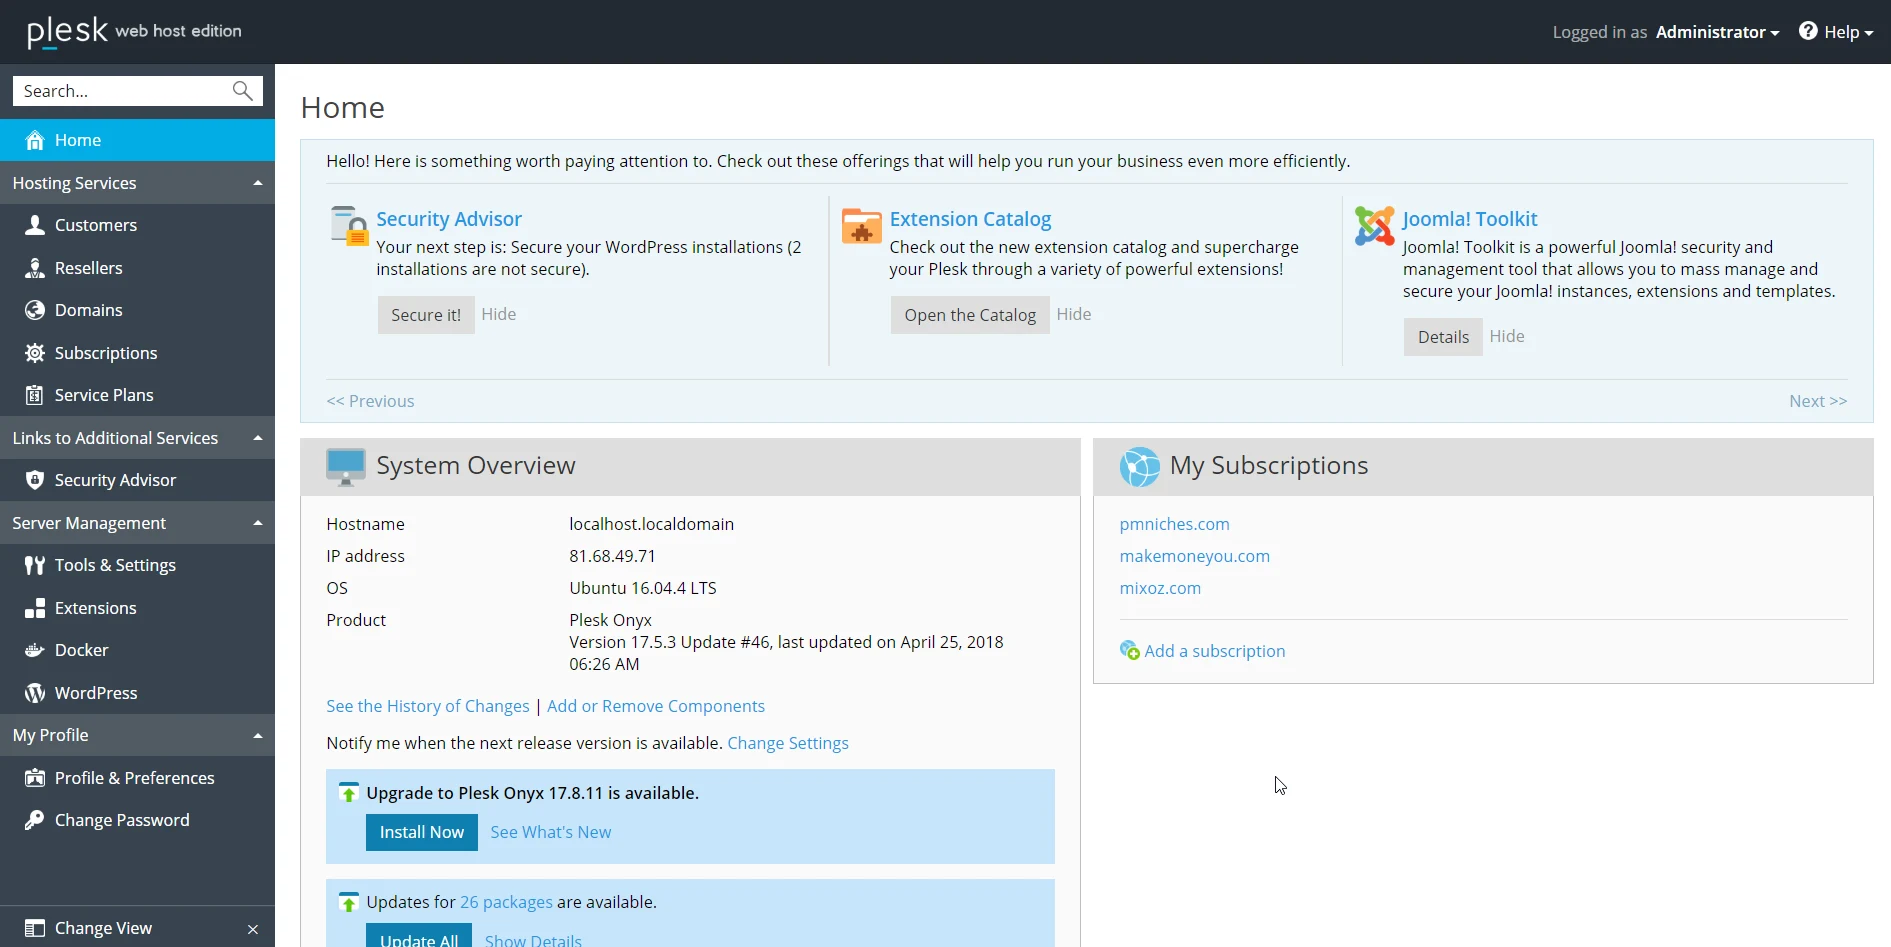
4 On your Plesk dashboard, click the domain where you are going to install the PLR blog. The list of domains you have in your account is found inside the “My Subscriptions” box.
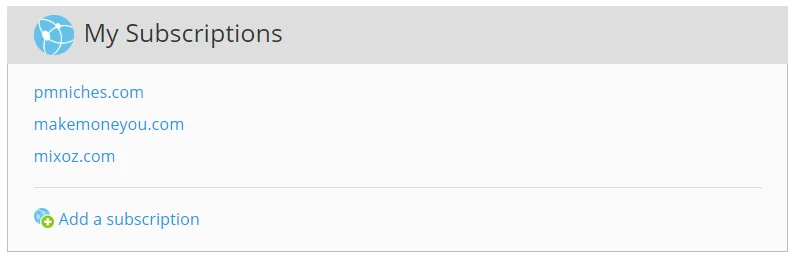
You will be redirected to a page where you’ll see various tools for managing that particular domain. We’ll just call this your “domain’s management page“ for reference later in this tutorial.
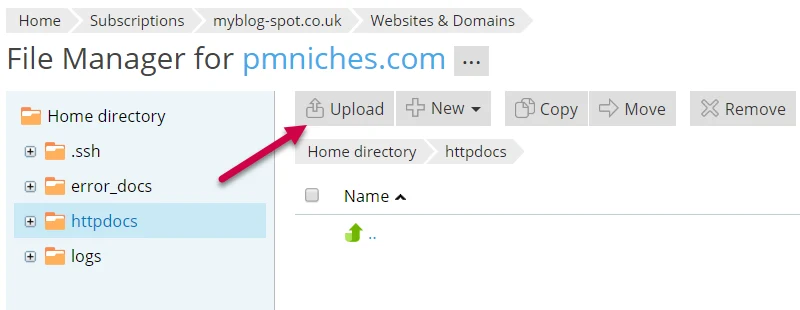
5 Find the “File Manager” icon and click on it.

6 On the file manager page, click the “Upload” button.
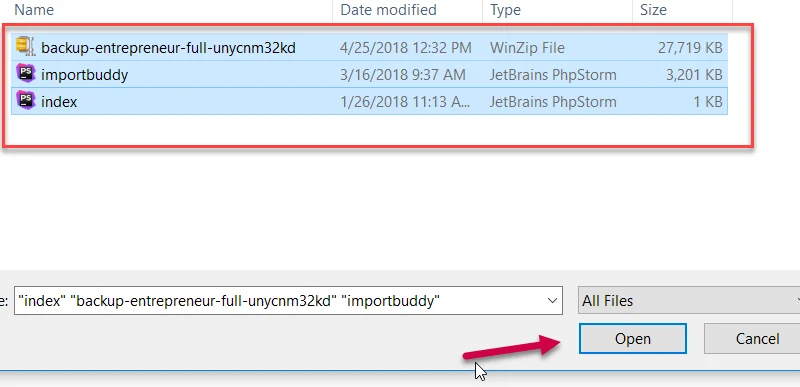
7 Locate the installation files from your PC/Laptop/Computer.

8 To upload, highlight the three files then click “Open” (Chrome browser).
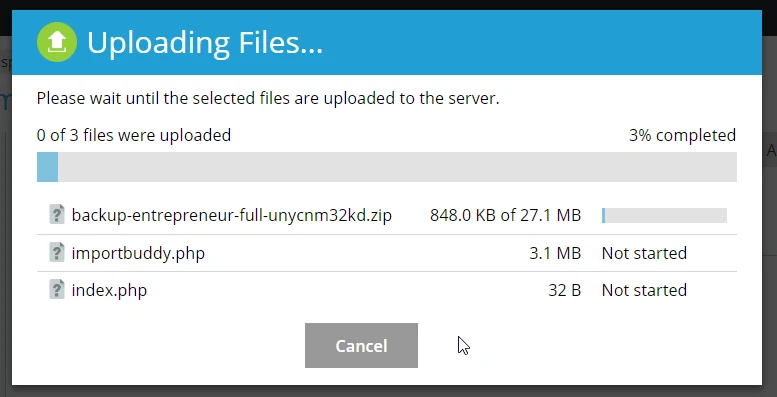
9 A window will pop-up showing you the upload progress. Wait for files to get uploaded.
Part 2. Create a MySQL Database
1 Go back to your “domain’s management page.”
2 Click on the “Databases” tab.
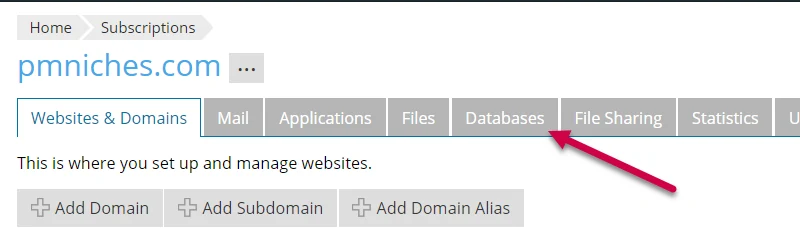
Alternatively, you may also click on the “Databases” link.

3 Click the “Add Database” button/link.
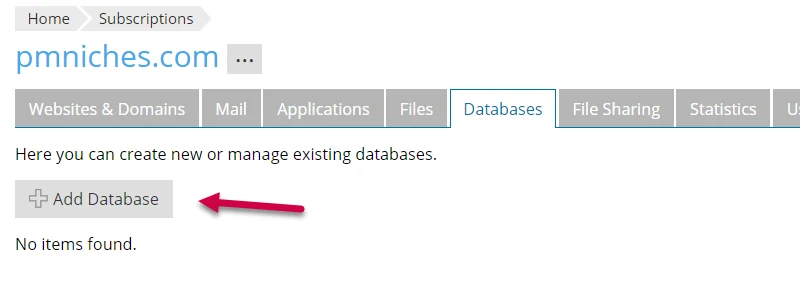
You will be redirected to the “Add Database” page.

4 Now, enter your desired Database name, Database user name, and generate a new password. See the screenshot below.
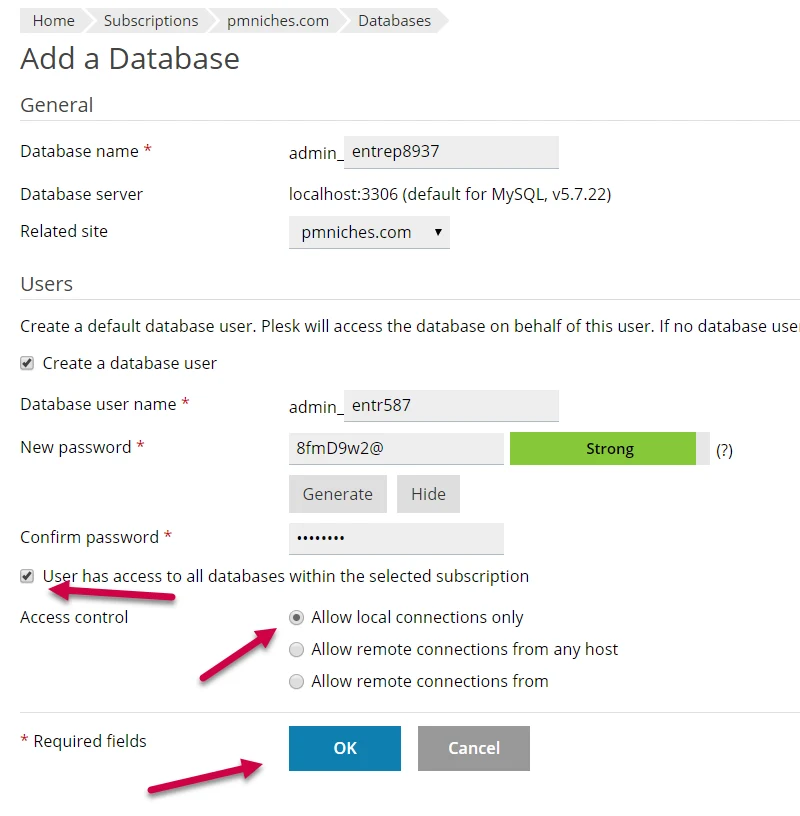
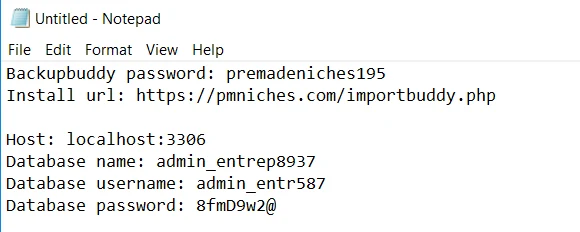
Don’t forget to write down your database info on a notepad for easy copy-pasting on the installation steps later.
5 When you’re done filling up the database, click the “OK” button.
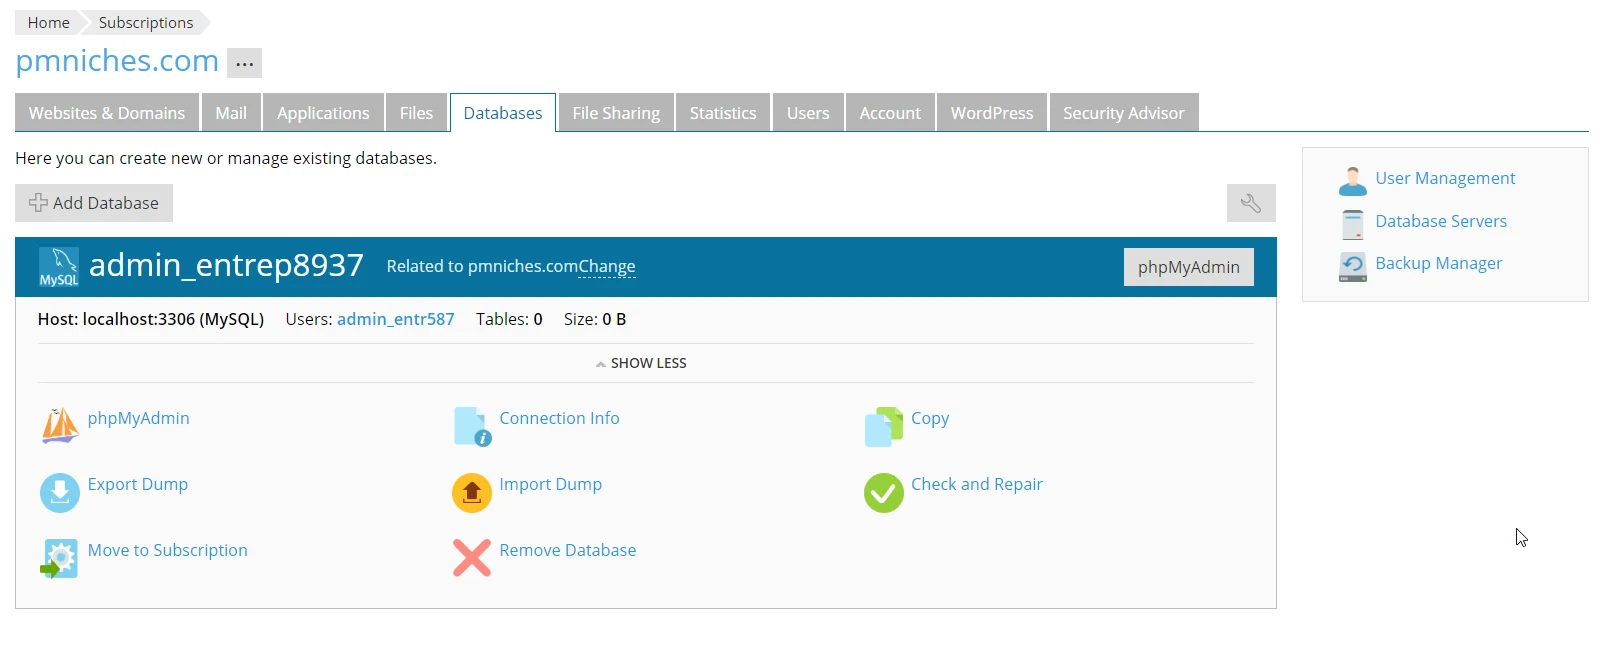
If successful, you will be redirected to a page showing the database record for that domain.
Part 3. Run Installation Script
1 Bring up the install notes you created during the MySQL creation.
2 On your favorite browser (Chrome preferably), copy the installation URL to the address bar then hit the “Enter” key on your computer keyboard.

3 Enter Importbuddy password then click Authenticate

4 Click the “Restore Backup” button.

5 On “Step 3: Database Settings“, enter your database settings. Copy and paste from the install notes you prepared.
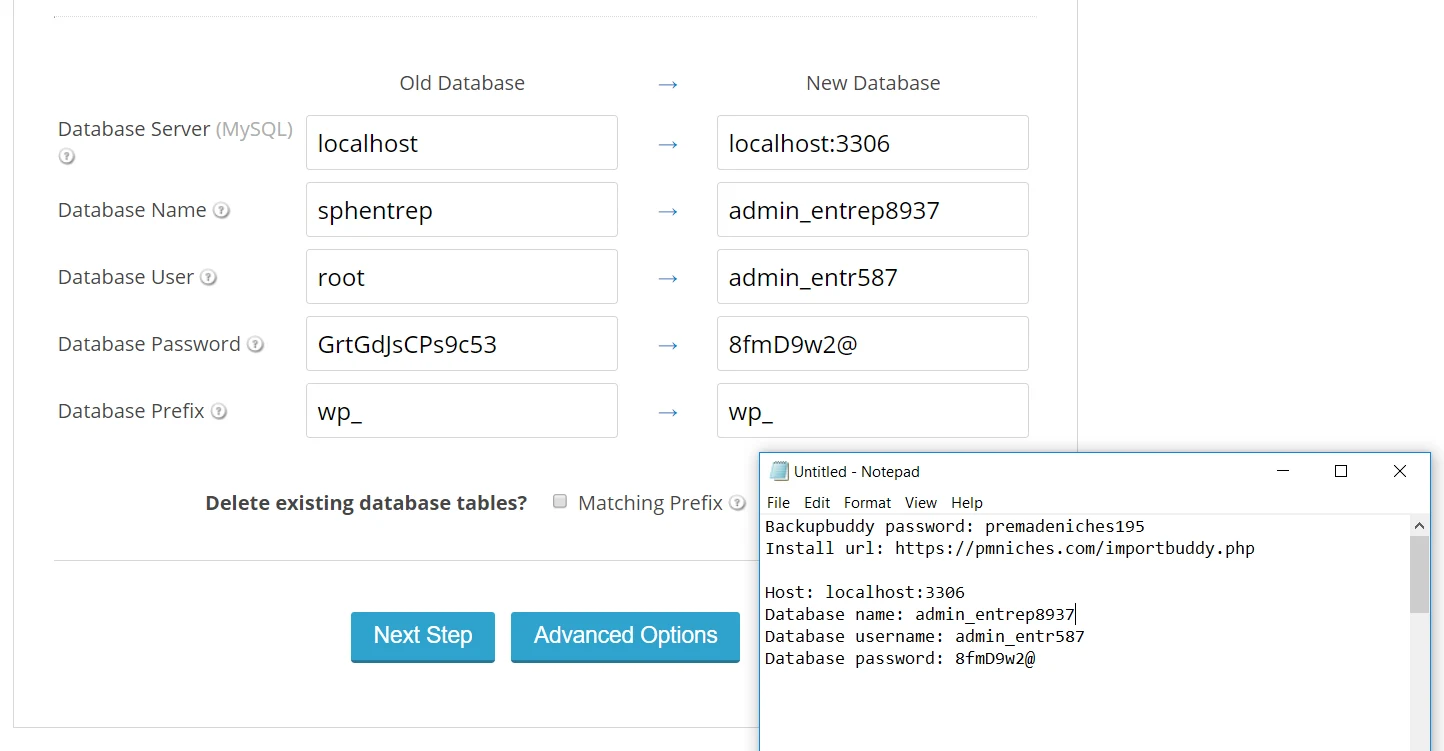
6 Click the “Next Step” button.

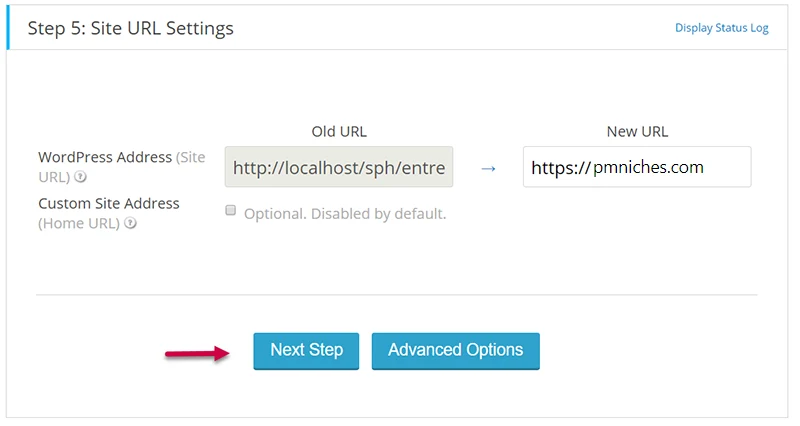
7 Again click the “Next Step” button.
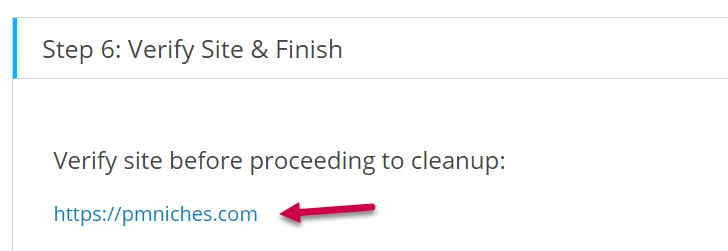
8 On “Step 6: Verify Site and Finish“, click your blog URL and check if the site is working.
9 If the site is working with no error/s, click “Finish Cleanup” to delete installation files and other mess.
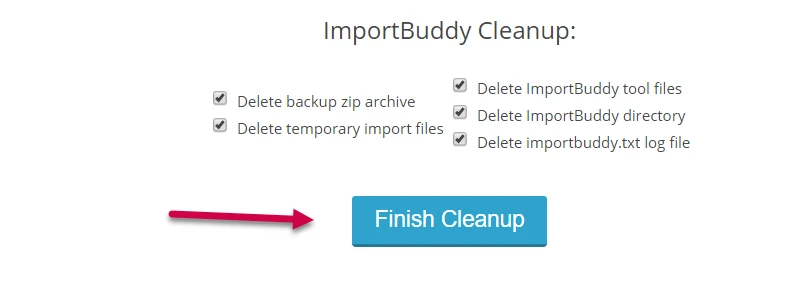
10 That’s it. Congratulations on successfully installing your new blog/site.


