Did you know that you can quickly and easily increase your WebHost’s PHP memory limit and max upload file size via cPanel? You’re in luck if you use a web host that uses cPanel as their interface and file management software.
With a cPanel, you can increase the PHP memory limit without having to edit any file, as described here. You can also increase the maximum upload file size without installing any plugin, as explained here.
These things are essential when managing your web host and running a WordPress blog/website that needs some special adjustments. Likewise, these adjustments are essential in making sure your site runs smoothly.
This should not scare you since you only need to implement some basic PHP settings without knowing to program or deal with any code.
So here’s a step-by-step guide complete with screenshots:
- First, log in to the Website’s cPanel. For absolute beginners, here’s how.
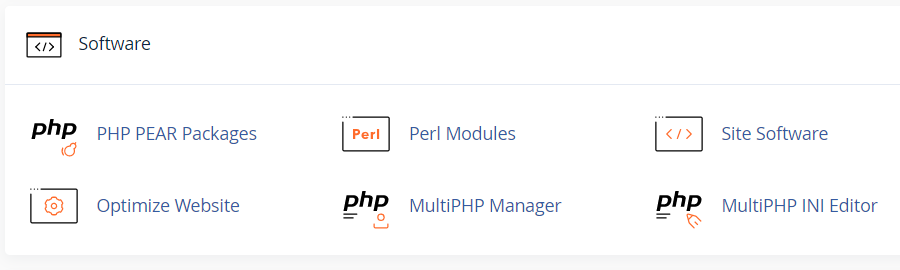
- Scroll down and find the “Software” widgets box.
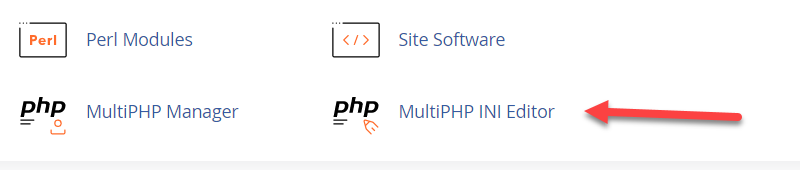
- Click the “MultiPHP INI Editor” icon/link.
- On the MultiPHP INI Editor page, just stay with the “Basic Mode” tab.
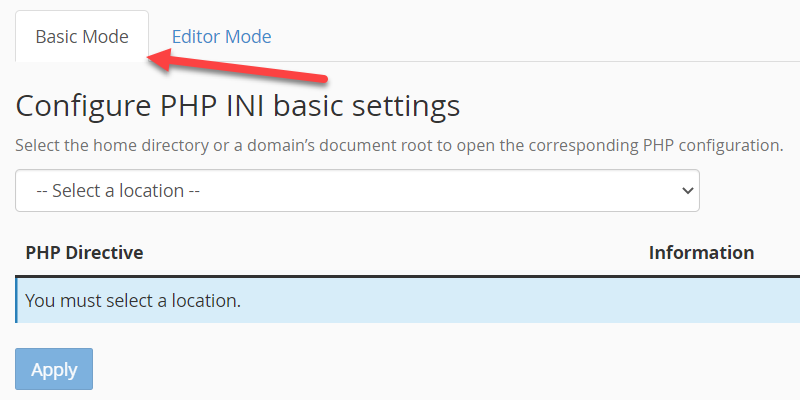
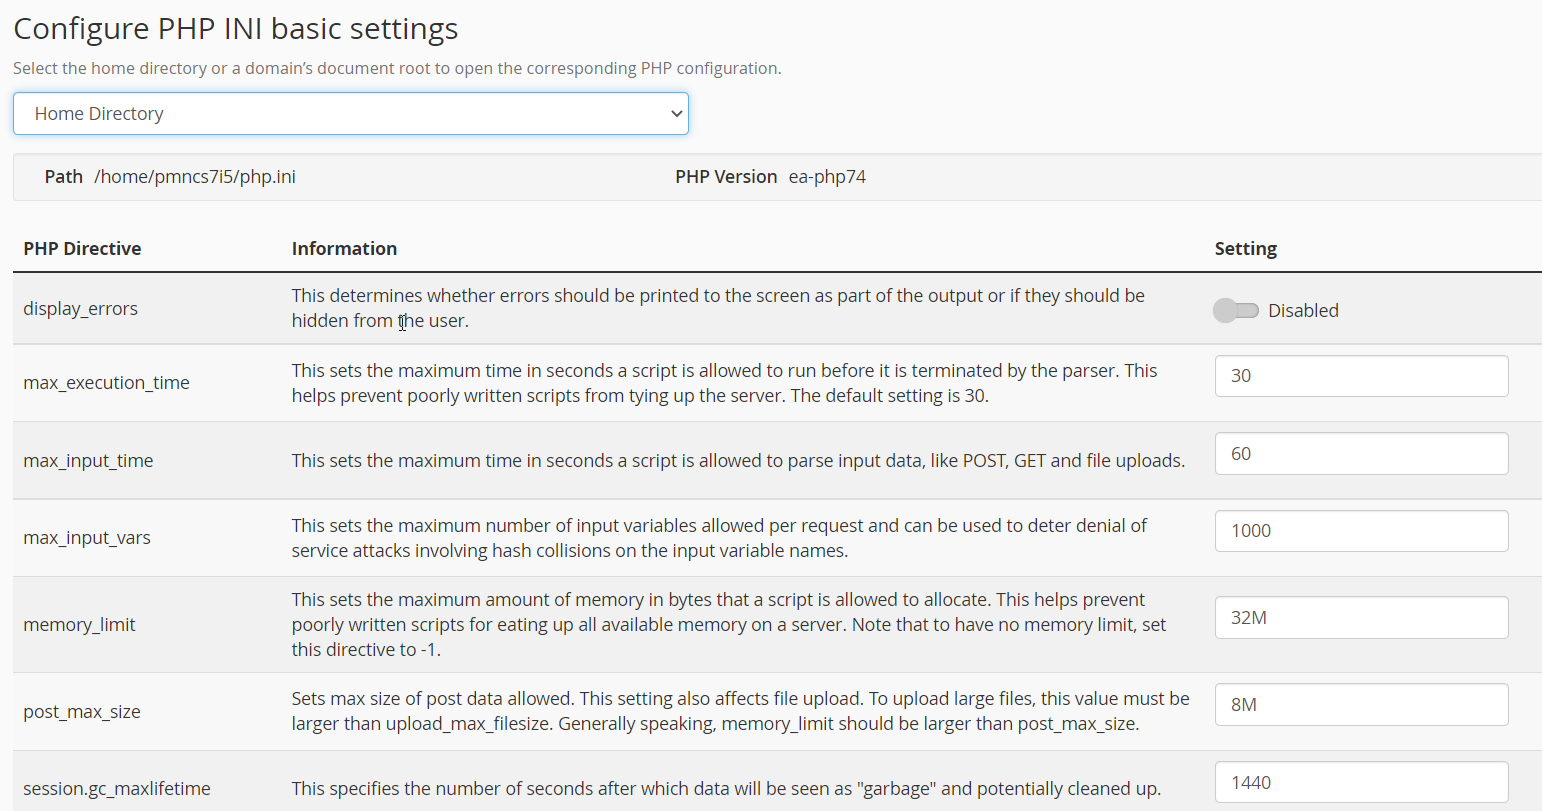
- Select the location where you want to apply the settings.
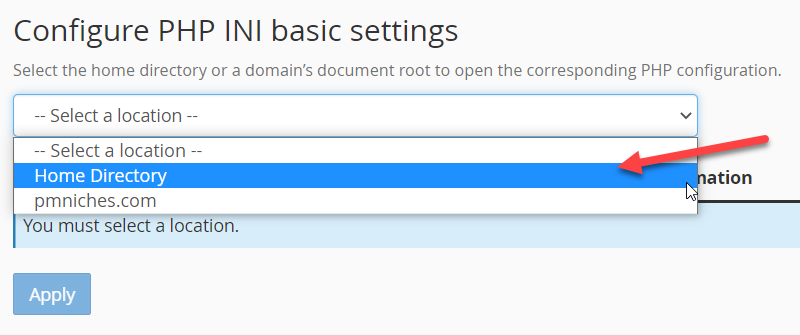
I set the location to “Home Directory” because I want to apply changes to all domains in this particular cPanel account. If you have two or more domains housed on a single cPanel account, you may want to select the domain where you want to apply your preferred PHP settings.If you want to apply changes to any website under this cPanel user, edit the home directory. If you’re going to apply changes only to a specific domain, edit the document root instead. – cPanel
- After selecting the location, a new table will come up.

If you want to view a larger screenshot, click here. With our goal to increase the PHP limit and max upload size, just focus on these three columns: memory_limit, post_max_size, and upload_max_filesize. - To increase the PHP memory limit, just edit the number under the memory_limit column.
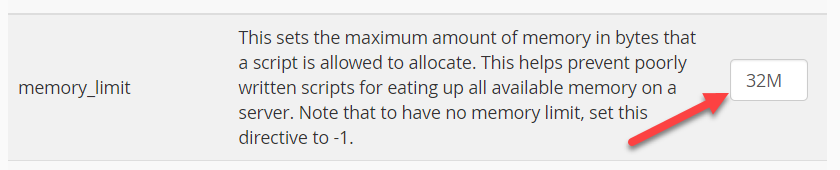
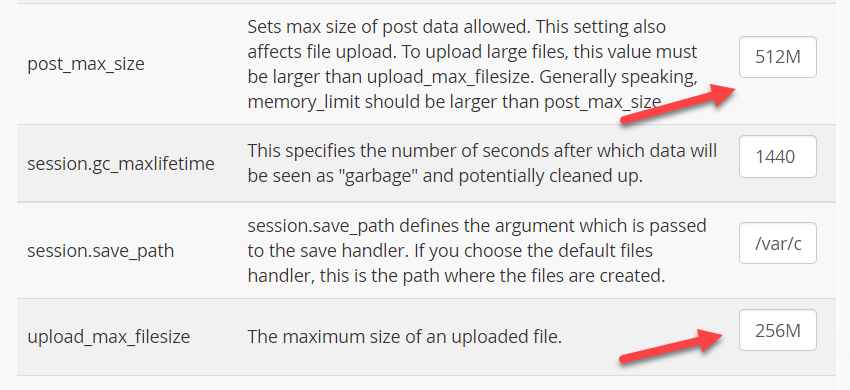
The default is 32M which is very low for most WP sites with many plugins. You can set this to 64M, 128M, 256M, and 512M. I set this one to 512M. - Next, increase the “Maximum Upload File Size” by changing the default number under the “upload_max_filesize” column.

However, keep in mind that the upload_max_filesize should not exceed the number under the “post_max_size” column.

So, if post_max_size is set to 8M, I can only set an effective upload_max_filesize of up to 8M. For example, if I want to increase the maximum upload size to 256M, I should set the post_max_size column to 256M or 512M. See the screenshot below.
See how it is reflected inside the WordPress dashboard.

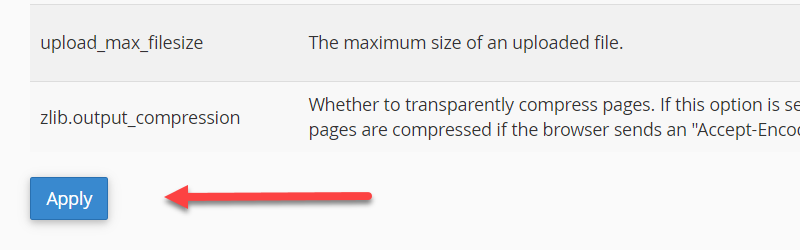
In short, post_max_size should always be equal to or greater than the upload_max_filesize. - After setting up your preferred PHP limit and upload size, don’t forget to click the “Apply” button located just below the settings table.
That’s it. This method is much easier and more practical than editing PHP files or installing a plugin.


